In this informative article, you will learn the step-by-step process of testing a water heater element. Ensuring that your water heater is functioning optimally is essential for maintaining a constant supply of hot water in your home or commercial space. By understanding how to test the water heater element, you can easily diagnose any issues and take appropriate action. With clear instructions and practical tips, this article will equip you with the knowledge to confidently test and troubleshoot your water heater element, saving you time, money, and potential inconvenience.
Understanding Water Heater Elements.
What is a water heater element.
A water heater element is a crucial component of an electric water heater. It is responsible for heating the water and maintaining its temperature. The element is generally made of a high-resistance metal alloy, such as copper or stainless steel, which generates heat when an electrical current passes through it.
Functions of a water heater element.
The primary function of a water heater element is to heat the water in the tank to the desired temperature. It works by converting electrical energy into heat energy. The element is immersed in the water, allowing the heat to transfer and raise the water temperature. Without a functioning element, the water in the tank would remain cold and unsuitable for use.
Types of water heater elements.
There are two commonly used types of water heater elements: the screw-in type and the bolt-on type. The screw-in type is the most popular and features a threaded base that can be easily screwed into a designated opening in the water heater tank. The bolt-on type, on the other hand, is secured to the tank using bolts, which provide a more secure installation.
Common issues with water heater elements.
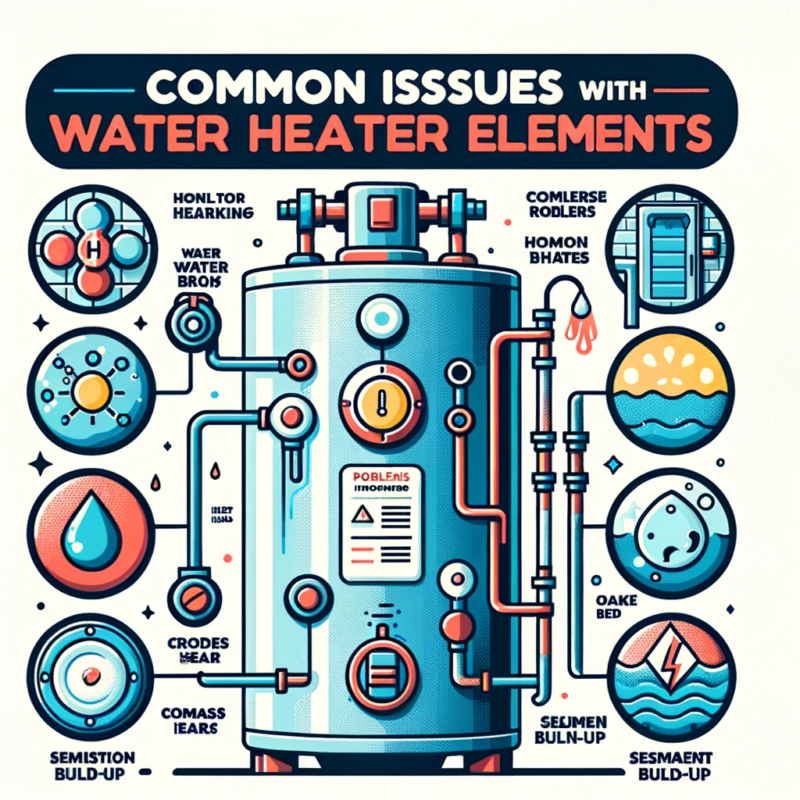
Water heater elements can experience various issues that affect their functionality. Some common problems include element burnout, sediment buildup, and corrosion. These issues can lead to the element not heating the water properly or not working at all. Regular maintenance and testing are essential to identify and address these issues promptly.
Essential Tools for Testing Water Heater Elements.
List of necessary tools.
To test water heater elements effectively, you will need the following tools:
- Multimeter: This tool is used to measure the electrical resistance of the element.
- Screwdriver: You will need a screwdriver to remove the element cover and disconnect the wires.
- Voltage tester: A voltage tester will help ensure that the power supply is switched off before testing the element.
- Safety gloves and goggles: These protective gear will safeguard you from any potential hazards during the testing process.
Proper use of each tool.
Understanding the proper use of each tool is crucial to ensure accurate testing and personal safety. The multimeter is used to measure resistance and should be set to the appropriate resistance range before testing. The screwdriver is utilized to remove the element cover and disconnect wires properly. The voltage tester is essential to verify that there is no electricity flowing to the water heater before beginning the testing process.
Safety measures whilst using the tools.
When using the tools mentioned above, it is important to take certain safety measures. Always wear safety gloves and goggles to protect your hands and eyes from potential harm. Ensure that the power supply to the water heater is switched off before working on the elements. Additionally, exercise caution when handling the multimeter to avoid electric shocks, and use insulated screwdrivers to minimize the risk of electrical accidents.
Switching off Power Supply
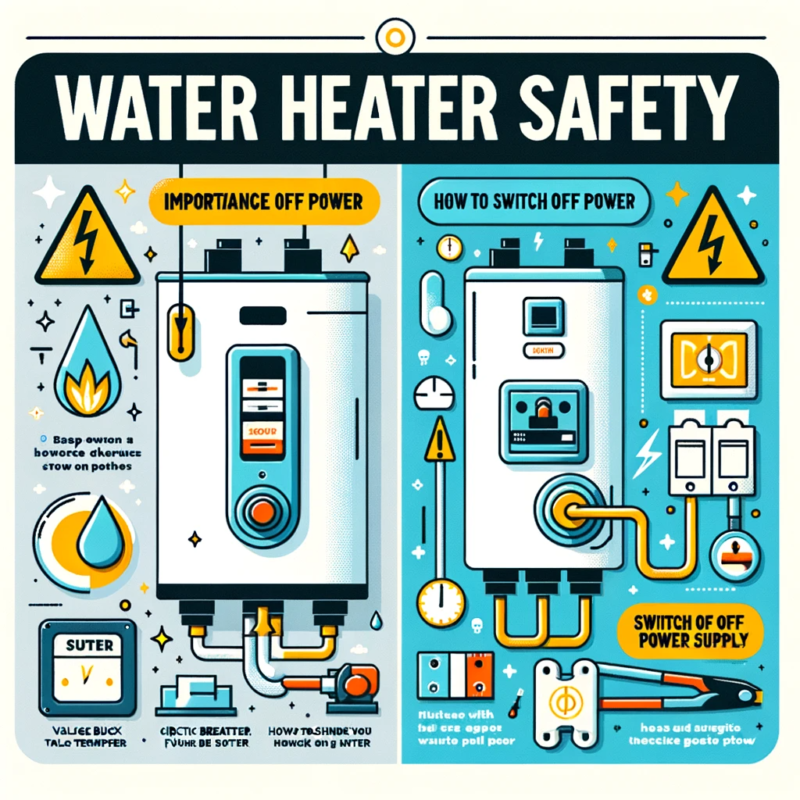
Importance of turning off power.
Before attempting any maintenance or testing on a water heater element, it is crucial to switch off the power supply. Failure to do so can result in electrical shocks or other accidents. Switching off the power ensures that there is no electrical current flowing to the water heater, providing a safe environment to work on the elements.
How to switch off power supply.
To switch off the power supply to the water heater, you should locate the circuit breaker or fuse box that controls the heater. Flip the corresponding switch or remove the appropriate fuse to cut off the power. You can use a voltage tester to double-check that no electricity is flowing to the water heater before proceeding with any work.
Safety measures in switching off power supply.
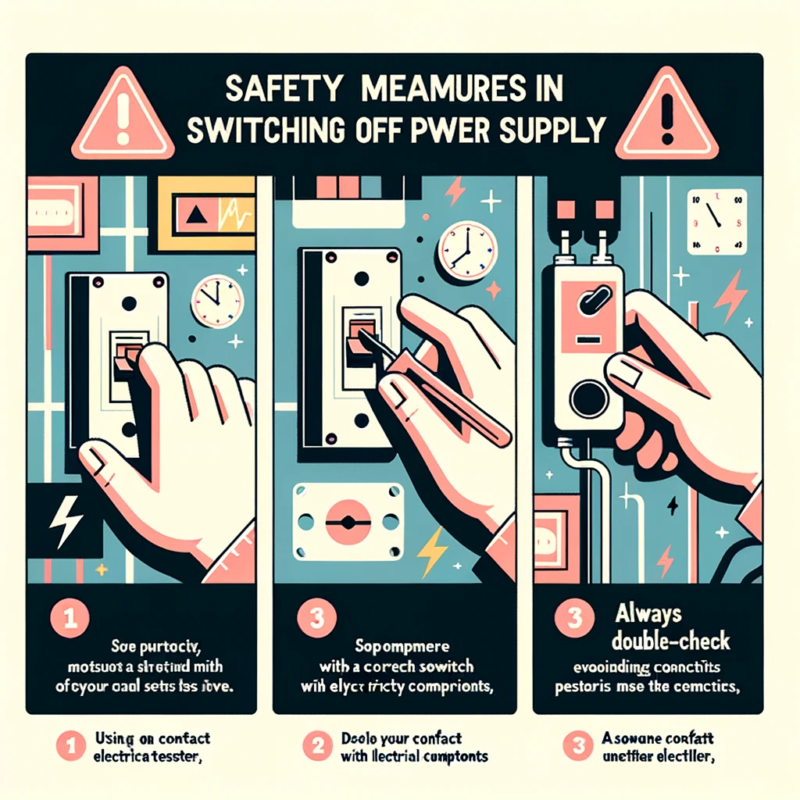
While switching off the power supply, it is essential to follow these safety measures to prevent any mishaps:
- Use the appropriate circuit breaker or fuse switch to ensure that only the water heater power is switched off, without affecting other appliances.
- Avoid contact with any electrical components or wires while turning off the power supply.
- Always double-check using a voltage tester after turning off the power to ensure no electricity is present.
Accessing the Element
How to locate the element
To access the water heater element, you will need to locate the access panel or cover on the water heater tank. In most cases, this can be found near the bottom of the tank. The access panel may be held in place by screws or clips, which can be removed using a screwdriver or by pressing the clips inward. Once the panel or cover is removed, the element will be visible.
Steps in removing the element cover
To remove the element cover, follow these steps:
- Switch off the power supply to the water heater.
- Locate the access panel or cover on the water heater tank.
- Use the appropriate tool, such as a screwdriver, to remove the screws or unclip the cover.
- Set aside the screws or clips in a secure location to prevent loss or misplacement.
- Gently lift or slide the cover away from the water heater tank, exposing the element.
Safety tips in handling the element
When handling the water heater element, it is important to observe the following safety tips:
- Ensure the power supply is switched off before touching or inspecting the element.
- Use caution when removing the cover to prevent any injury, as the element and surrounding components may be hot.
- Avoid touching the element directly, as it may still retain heat even after the power is switched off.
Disconnecting the Element
Proper Steps to disconnect the element.
To disconnect the water heater element, follow these steps:
- Ensure the power supply to the water heater is switched off.
- Inspect the element to identify the wires connected to it.
- Use an appropriate tool, such as a screwdriver, to carefully loosen and remove the wires from the element terminals.
- Take note of the wire connections for future reference.
Safety measures in disconnecting wires.
When disconnecting the wires from the water heater element, it is essential to prioritize safety. Consider the following safety measures:
- Always ensure the power supply is switched off to eliminate the risk of electrical shocks.
- Inspect the wire insulation for any signs of damage or wear. Replace any damaged wires to prevent future hazards.
- Use insulated pliers or screwdrivers to avoid direct contact with live wires.
- Handle the wires gently to prevent undue stress or damage to the connections.
Things to avoid while disconnecting the element
While disconnecting the water heater element, it is important to avoid the following:
- Never attempt to disconnect or handle the element wires without first switching off the power supply. Failing to do so can result in severe electrical shocks.
- Avoid forcibly removing the wires, as this can lead to damage or breakage.
- Do not forget to take note of the wire connections before removing them. Failure to do so can make reconnection difficult or confusing.
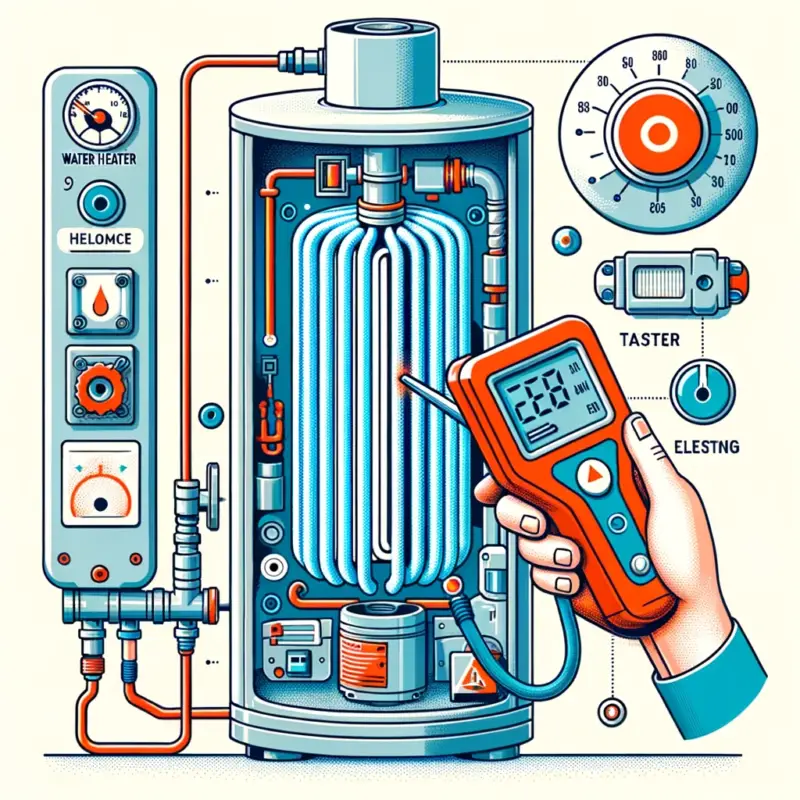
Set up Multimeter for Testing.
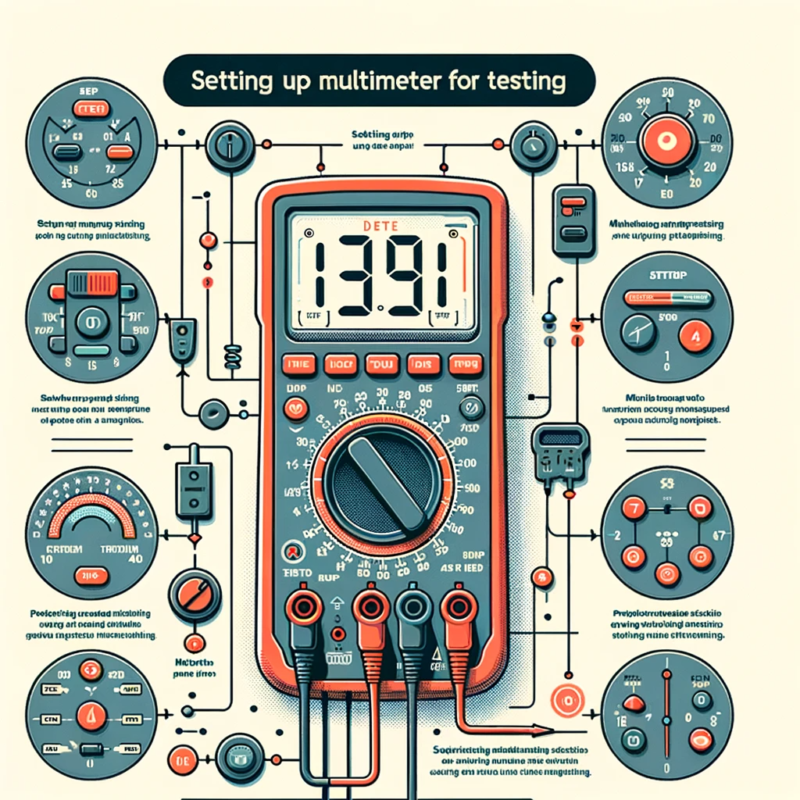
What is a multimeter?
A multimeter is an essential tool for testing water heater elements and various other electrical measurements. It combines several measurement functions into one handheld device, including measuring voltage, current, and resistance. With its multiple settings and probes, a multimeter allows you to accurately determine the resistance of the water heater element.
Proper configuration for testing water heater element.
To set up the multimeter for testing the water heater element, follow these steps:
- Ensure the power supply to the water heater is switched off.
- Set the multimeter to the resistance mode, usually denoted by the ohm (Ω) symbol.
- Select the appropriate resistance range on the multimeter based on the element’s expected resistance value. Consult the water heater’s manual or manufacturer’s specifications for guidance.
- Connect the multimeter probes to the red and black terminals on the multimeter.
- Keep the multimeter probes clear from any other metal surfaces to prevent interference.
Tips for readings accuracy.
To achieve accurate readings when testing the water heater element with a multimeter, consider the following tips:
- Ensure the multimeter is set to the correct resistance range. Using an incorrect range can result in inaccurate measurements.
- Clean the element terminals and the multimeter probes to ensure good contact and minimize potential interference.
- Keep the multimeter probes steady and firmly connected to the element terminals throughout the testing process.
- Take multiple readings and calculate the average resistance value to reduce the impact of any minor fluctuations.
Performing the Element Test.
Applying the probes on the element terminals.
To test the water heater element using a multimeter, follow these steps:
- Ensure the power supply to the water heater is switched off.
- Locate the element terminals on the water heater.
- Insert the multimeter probes into the corresponding terminals on the element. The red probe should be inserted into the terminal connected to the power supply, while the black probe should be inserted into the terminal connected to the tank.
Interpreting the multimeter readings.
After applying the probes to the element terminals, the multimeter will display a resistance value. Interpret the readings as follows:
- Normal readings: A functioning element will typically display a resistance value within the expected range specified by the manufacturer. Refer to the water heater’s manual or consult the manufacturer’s specifications for the acceptable resistance range.
- Abnormal readings: If the multimeter displays an open circuit or a significantly different resistance value from the expected range, it indicates a faulty element. In such cases, the element may need to be replaced.
Determining if the element is faulty.
The multimeter readings help determine if the water heater element is faulty. If the resistance reading falls within the expected range, it indicates that the element is likely functioning correctly. However, if the readings deviate significantly from the expected range or display an open circuit, it suggests a faulty element that may require replacement.
Reconnect and Restore the Element
Procedures to put back the disconnected element.
To reconnect the water heater element, follow these steps:
- Ensure the power supply to the water heater is switched off.
- Take note of the wire connections for reference.
- Align the element terminals with the respective wire connections.
- Use an appropriate tool, such as a screwdriver, to securely fasten the wires to the element terminals.
- Ensure that the wires are properly tightened to establish a solid electrical connection.
Steps to restore power.
To restore power to the water heater after reconnecting the element, follow these steps:
- Ensure that the element is securely connected and all wires are properly fastened.
- Close the access panel or cover, ensuring it is correctly aligned with the water heater tank.
- Use the appropriate tool, such as a screwdriver, to attach the screws or clips to secure the panel or cover in place.
- Locate the circuit breaker or fuse switch that controls the water heater and switch it on.
- Double-check that power has been restored by testing the electrical components of the water heater.
Safety tips during the process.
When reconnecting and restoring the water heater element, it is important to adhere to the following safety tips:
- Always ensure that the power supply is switched off before working on the element to prevent electrical shocks.
- Use caution when handling electrical connections and ensure they are securely fastened to avoid loose connections or potential hazards.
- Wear safety gloves to protect your hands from any sharp edges or hot surfaces during the reconnection process.
Signs of a Bad Water Heater Element
Common symptoms of a faulty element.
Identifying the signs of a bad water heater element is crucial for timely replacement and maintenance. Some common symptoms of a faulty element include:
- Insufficient hot water: If your water is not heating up or taking significantly longer to reach the desired temperature, it may indicate a faulty element.
- Discolored or rusty water: A faulty element can cause rust or sediment buildup, leading to discolored or rusty water.
- Strange noises: A failing element may produce strange popping or crackling noises due to the accumulation of sediment.
- Frequent tripping of the circuit breaker: If the circuit breaker connected to the water heater frequently trips, it may indicate a faulty element that is causing an electrical overload.
How temperature affects the performance of the element?
Temperature plays a crucial role in the performance of the water heater element. If the temperature is set too high, it can cause the element to overheat, which may lead to premature failure. On the other hand, if the temperature is consistently kept low, it can result in the accumulation of sediment and corrosion, affecting the element’s efficiency and lifespan.
Impact of rust and sediment on the element.
Rust and sediment can have a detrimental impact on the water heater element. Over time, minerals and contaminants in the water can accumulate on the surface of the element, forming a layer of sediment. This sediment acts as an insulator, making it harder for the element to transfer heat to the water. Rust and sediment buildup can lead to decreased efficiency, increased energy consumption, and ultimately, the failure of the element.
Maintaining Water Heater Elements.
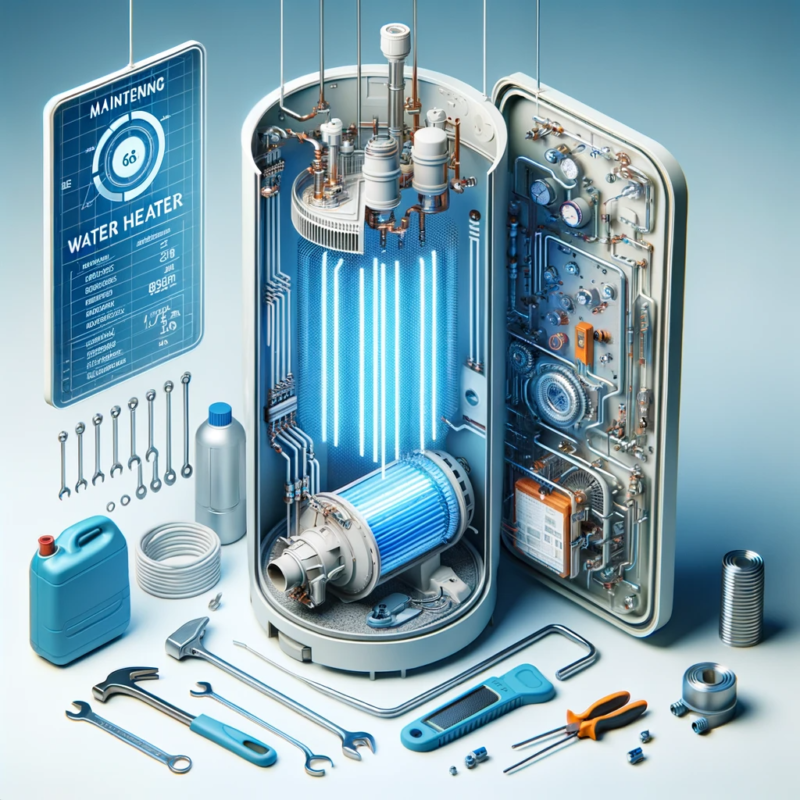
Routine checks for efficient operation.
To ensure efficient operation of water heater elements, regular maintenance checks are essential. Some routine checks to perform include:
- Visual inspection: Look for any signs of corrosion, damage, or sediment buildup on the element and its surrounding components. Address any issues promptly to prevent further damage.
- Flushing the tank: Regularly flush the water heater tank to remove accumulated sediment, which can prolong the lifespan of the element and improve its efficiency.
- Temperature monitoring: Check the temperature settings to ensure they align with your requirements. Adjust as necessary to prevent overheating or insufficient heating.
How regular maintenance affects element longevity?
Regular maintenance is crucial for prolonging the lifespan and optimizing the performance of water heater elements. By addressing minor issues promptly and conducting routine checks, you can prevent more severe problems from developing. Regular maintenance, such as flushing the tank and inspecting for corrosion, helps to minimize the impact of rust and sediment buildup on the element, thus extending its longevity.
Professional service checks vs DIY maintenance.
While DIY maintenance can help with routine checks and basic maintenance tasks, it is advisable to seek professional service checks periodically. Professional technicians have the expertise and experience to identify underlying issues that may not be apparent during a DIY inspection. They can provide comprehensive maintenance, perform more complex repairs, and offer professional guidance on optimizing the performance and lifespan of water heater elements.