In this informative article, you will discover the essential steps to effectively drain a GE dishwasher, ensuring its optimal performance and preventing potential issues. From locating the drain hose to troubleshooting common problems, this comprehensive guide will equip you with the necessary knowledge and techniques to successfully drain your GE dishwasher with confidence and precision.
Preparation
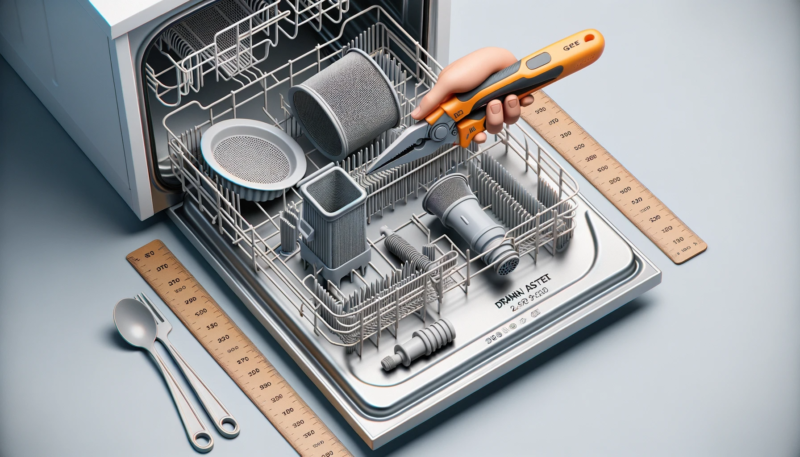
Before you start draining your GE dishwasher, it is essential to gather all the necessary tools and materials. Having these items on hand will ensure a smooth and efficient process. You will need a bucket, towels, and potentially a screwdriver or pliers, depending on your specific dishwasher model.
Furthermore, safety should always be a top priority when working with any appliance. To ensure your well-being throughout the drain cleaning process, remember to wear protective gloves and follow basic electrical safety precautions. Always turn off the power supply to the dishwasher before starting any maintenance or repair work.
Locating the Drain Hose
To effectively drain your GE dishwasher, you first need to locate the drain hose. This hose is responsible for carrying the wastewater from your dishwasher to the sink or garbage disposal. To access the drain hose, you will need to remove the bottom dish rack and inspect the bottom of the dishwasher.
Start by pulling out the bottom dish rack, which is typically located at the lowest level in the dishwasher. The rack may have clips or hooks holding it in place, so be gentle yet firm when removing it. Once the dish rack is out of the way, you will have a clear view of the bottom of the dishwasher.
Disconnecting the Drain Hose from the Sink
Disconnecting the drain hose from the sink is a crucial step in the draining process. Before you begin, ensure that the power supply to the dishwasher is turned off to avoid any electrical accidents.
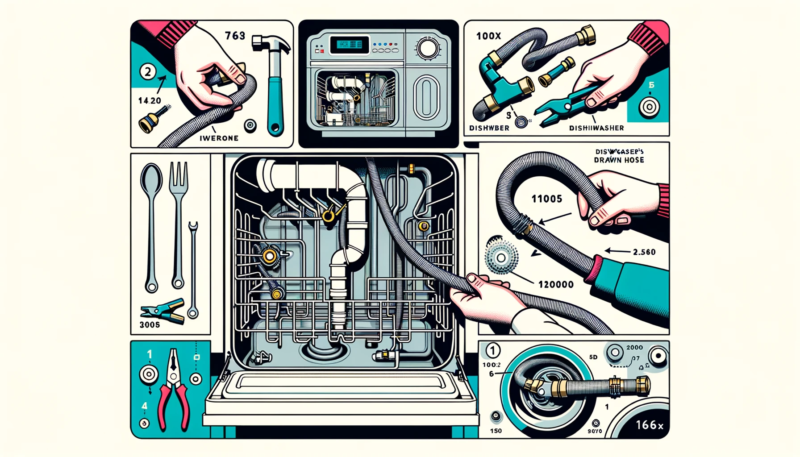
To disconnect the drain hose, locate the point where it connects to the sink. This connection is usually secured with a hose clamp or a similar fastening device. Use a screwdriver or pliers to loosen the clamp and remove it, allowing you to detach the drain hose from the sink. Take caution not to damage the hose or any surrounding components during this step.
Disconnecting the Drain Hose from the Garbage Disposal
If your GE dishwasher is connected to a garbage disposal unit, you will need to disconnect the drain hose from there as well. As always, make sure the power supply is turned off to avoid any potential electrical hazards.
Locate the drain hose connection on the garbage disposal unit. Similar to the sink connection, a hose clamp or fastening device is likely securing the drain hose. Use a screwdriver or pliers to loosen the clamp and detach the drain hose from the garbage disposal.
Removing the Clog from the Drain Hose
If your dishwasher is not draining properly, it is possible that a clog is causing the blockage. To remove the clog from the drain hose, you will need to prepare a bucket and some towels to catch any water that may spill during the process.
Start by disconnecting the drain hose from both the sink and the garbage disposal, following the steps previously outlined. Once the drain hose is detached, carefully inspect its interior for any signs of clogging or debris. If you notice a clog, use a long brush or a plumbing snake to remove it, being cautious not to damage the hose. After removing the clog, reattach the drain hose securely.
Cleaning the Drain Basket and Filter
In addition to the drain hose, the drain basket and filter in your dishwasher can also become clogged with debris over time. Cleaning these components regularly is essential to maintain the efficiency of your dishwasher’s drainage system.
To locate the drain basket and filter, carefully remove the bottom dish rack as mentioned earlier. The drain basket is typically situated in the center of the dishwasher’s base, while the filter is adjacent to it.
Start by removing the drain basket from its position. Rinse it under running water to remove any visible debris, ensuring that all particles are cleared away. Next, clean the filter by gently scrubbing it with a soft brush or sponge. Rinse it thoroughly to eliminate any remaining residue. Once both the drain basket and filter are clean, place them back in their original positions.
Reconnecting the Drain Hose
After you have cleaned the drain hose, it is time to reconnect it to both the sink and the garbage disposal. Make sure the power supply to the dishwasher is turned off during this process to prioritize safety.
First, reconnect the drain hose to the sink. Slide the hose onto the connection point and secure it with a hose clamp or fastening device. Ensure the clamp is tightly fastened to prevent any leaks. Next, reconnect the drain hose to the garbage disposal using the same method.
Testing the Drainage
Once you have reconnected the drain hose, it is crucial to verify if the drainage is functioning correctly. To do this, you need to run a test cycle on your GE dishwasher.
Start by turning on the power supply to the dishwasher and selecting a test cycle. Allow the dishwasher to complete the cycle, ensuring that water is properly drained without any signs of blockage or backup. Keep a close eye on the drainage throughout the test cycle to confirm that it is functioning as expected.
Replacing the Drain Hose
In some instances, the drain hose of your GE dishwasher may be damaged or worn out, hindering its ability to drain water effectively. If this is the case, it is necessary to replace the drain hose with a new one.
To begin, purchase a new GE dishwasher drain hose that suits your specific dishwasher model. Ensure that you select the correct length and diameter to guarantee a proper fit. Once you have the replacement hose, follow the steps mentioned earlier to disconnect the old drain hose from both the sink and the garbage disposal.
After removing the old drain hose, install the new drain hose by connecting it securely to the sink and garbage disposal using hose clamps or fastening devices. Perform a test cycle to confirm that the new drain hose is functioning correctly.
Preventing Future Drainage Issues
To prevent future drainage issues with your GE dishwasher, regular cleaning and maintenance are key. By incorporating some simple habits into your dishwasher routine, you can significantly minimize the risk of clogs and blockages.
Regularly inspect and clean the drain basket and filter to prevent a buildup of debris. Ensure that all food particles are scraped off dishes before loading them into the dishwasher, as excess food can contribute to clogs. Additionally, avoiding overloading the dishwasher and arranging items strategically to allow proper water flow can help maintain optimal drainage.
By following these preventive measures and performing periodic maintenance, you can enjoy a properly draining GE dishwasher for years to come.
In conclusion, draining your GE dishwasher involves several steps to ensure efficient wastewater removal. From gathering the necessary tools and materials to locating the drain hose, disconnecting it from the sink and garbage disposal, removing any clogs, cleaning the drain basket and filter, reconnecting the drain hose, and testing the drainage, each step is crucial to the overall process. Additionally, understanding how to replace the drain hose if necessary and implementing preventive measures can help minimize future drainage issues. By following this comprehensive guide, you can effectively and professionally drain your GE dishwasher while prioritizing safety and maintaining optimal performance.